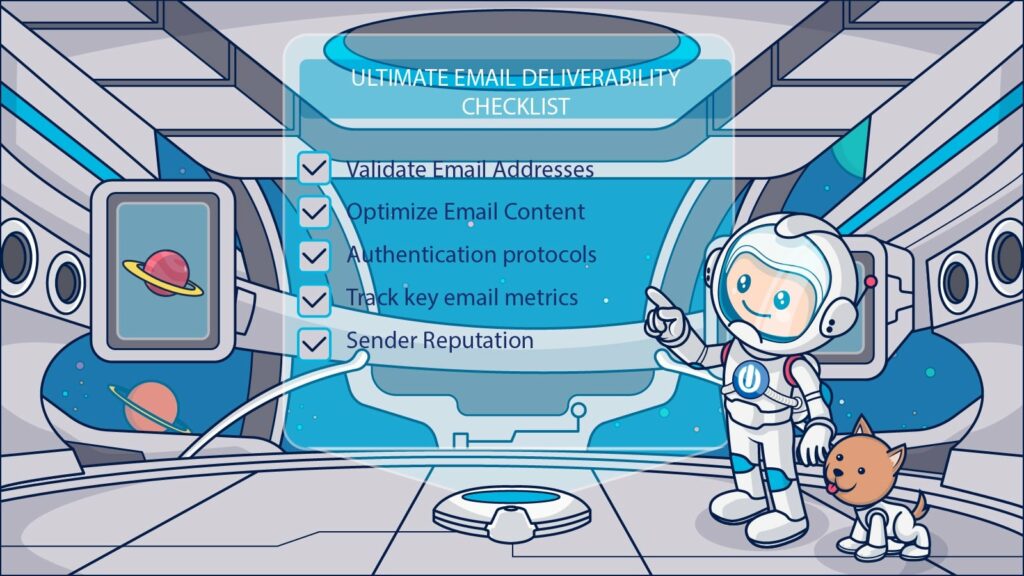
If you want to have good email deliverability and a chance at a great ROI, then you need to make sure you start things off on the right foot. In this post, we sum up the most important factors for a smooth and successful start to ensure that your emails get delivered every time.
1. Authenticate your email domain
Email authentication is a technological verification of the origin of an email message, and is one of the many ways the industry is resolving the challenge of spam. Authenticating your emails is crucial to secure a positive reputation and earn Internet Service Providers (ISPs) trust in your brand. The more positive your reputation is, the bigger the chance your email will land in the inbox. Without email authentication, you will never get good email delivery. On top of that, it helps protecting yourself against spoofing.
Next to the familiar DKIM and SPF, we see that DMARC becomes much more important for ISPs (and by extension, for you). DMARC offers an extra layer for authentication and directs a receiving server on how to handle emails that fail SPF and DKIM validation. This makes DMARC a super powerful tool.
Don’t have DMARC implemented yet? Follow this easy step by step guide provided by Google.
2. Ensure you have permission to send
Successful email deliverability will only come when ISPs trust you. User engagement plays a big part in this.
As you may have learned by now, buying email lists is simply out of the question. By sending emails to users who have not confirmed that they want to receive your content, it’s not a matter of if, but when you will get blocked by ISPs.
The right way to go about getting new email subscribers is by using a double opt-in sign up process. This ensures that the subscriber really wants to receive your content, as they have to confirm their subscription. At that point, you can also remind them of the content and frequency of your campaigns. Yes, it’s harder to build a list this way, but it’s the only way to ensure you have willing participants who are unlikely to complain and harm your reputation.
3. Only send valuable content
As a marketer, you are likely well aware of the dangers of spam complaints to your business, so do the right thing and keep your reputation intact. When sending out an email, ask yourself the question – is this something that I would like to receive myself? Does it add value for my subscribers?
You also need to be careful about the wording that you use and you should always avoid spam words in your email template. Spam filters are getting smarter and smarter and will easily kick your email to the spam folder.
4. Warm up your IPs with care
A new IP address is known as a cold IP as it doesn’t have a reputation with ISPs. Because of this, it is simply not possible to start off an email campaign with full force; you need to slowly build up your reputation by warming up your IP and sending domain.
It’s not only new IPs that are considered cold. If you haven’t used your IP for more than 30 days, then you are back to square one and will need to go through the warm-up process again.
So, what is the process for warming up your IP?
Warming up your IP involves sending a consistent volume of emails to build your reputation, since ISPs usually flag large spikes of emails as spam. So rather than, for example, sending 35,000 emails out at once, you can send 5,000 emails out per day over the period of one week. From there, you can gradually increase your send volumes. It’s critical to warm up your IP with your most engaged subscribers, since this is the best way to win over ISPs’ trust.
When you receive bounce logs from ISPs, you should always check and act on the feedback to protect and build your reputation. Your willingness to follow instructions and cooperate puts you in good stead for the future.
Most SMTP Relay Providers, such as Inboxroad, will be able to give you a custom warm up schedule based on your business needs.
Final words
Starting with your email activities and building a solid reputation takes some time and can be a real challenge. The most important thing is to stay patient and stick to our guidelines. With the right authentication, optin-processes, content and a custom warm up plan, you have a real chance to boost your ROI.
——–
Inboxroad is an Amsterdam based SMTP Relay Provider that have been Ongage partner for over 4 years. Their experts proactively monitor your email traffic and support you with advice and solid delivery reports. All of this and more, for a competitive price. Want to try Inboxroad? Get 25% discount on your first month by using coupon code “ongage25off” during checkout.


